Sunday 26 June 2011

Girl's flouncy tulle skirt


I'm honestly, secretly, jealous of little girls these days - growing up in chilly Yorkshire back in the Seventies, our clothing was for the most part practical. I don't think I ever got to wear this kind of girly, tutu-like skirt. Yes, I dressed my Sindy doll in them. But never myself.  Now you see them everywhere and girls young, and even a bit older, are bringing out the flounce. And I'm all for it...

I found this super simple tulle skirt tutorial on My Life A Happy Circus - a copy of a brand skirt selling for plenty of bucks:  J-Crew Skirt Knock Off.

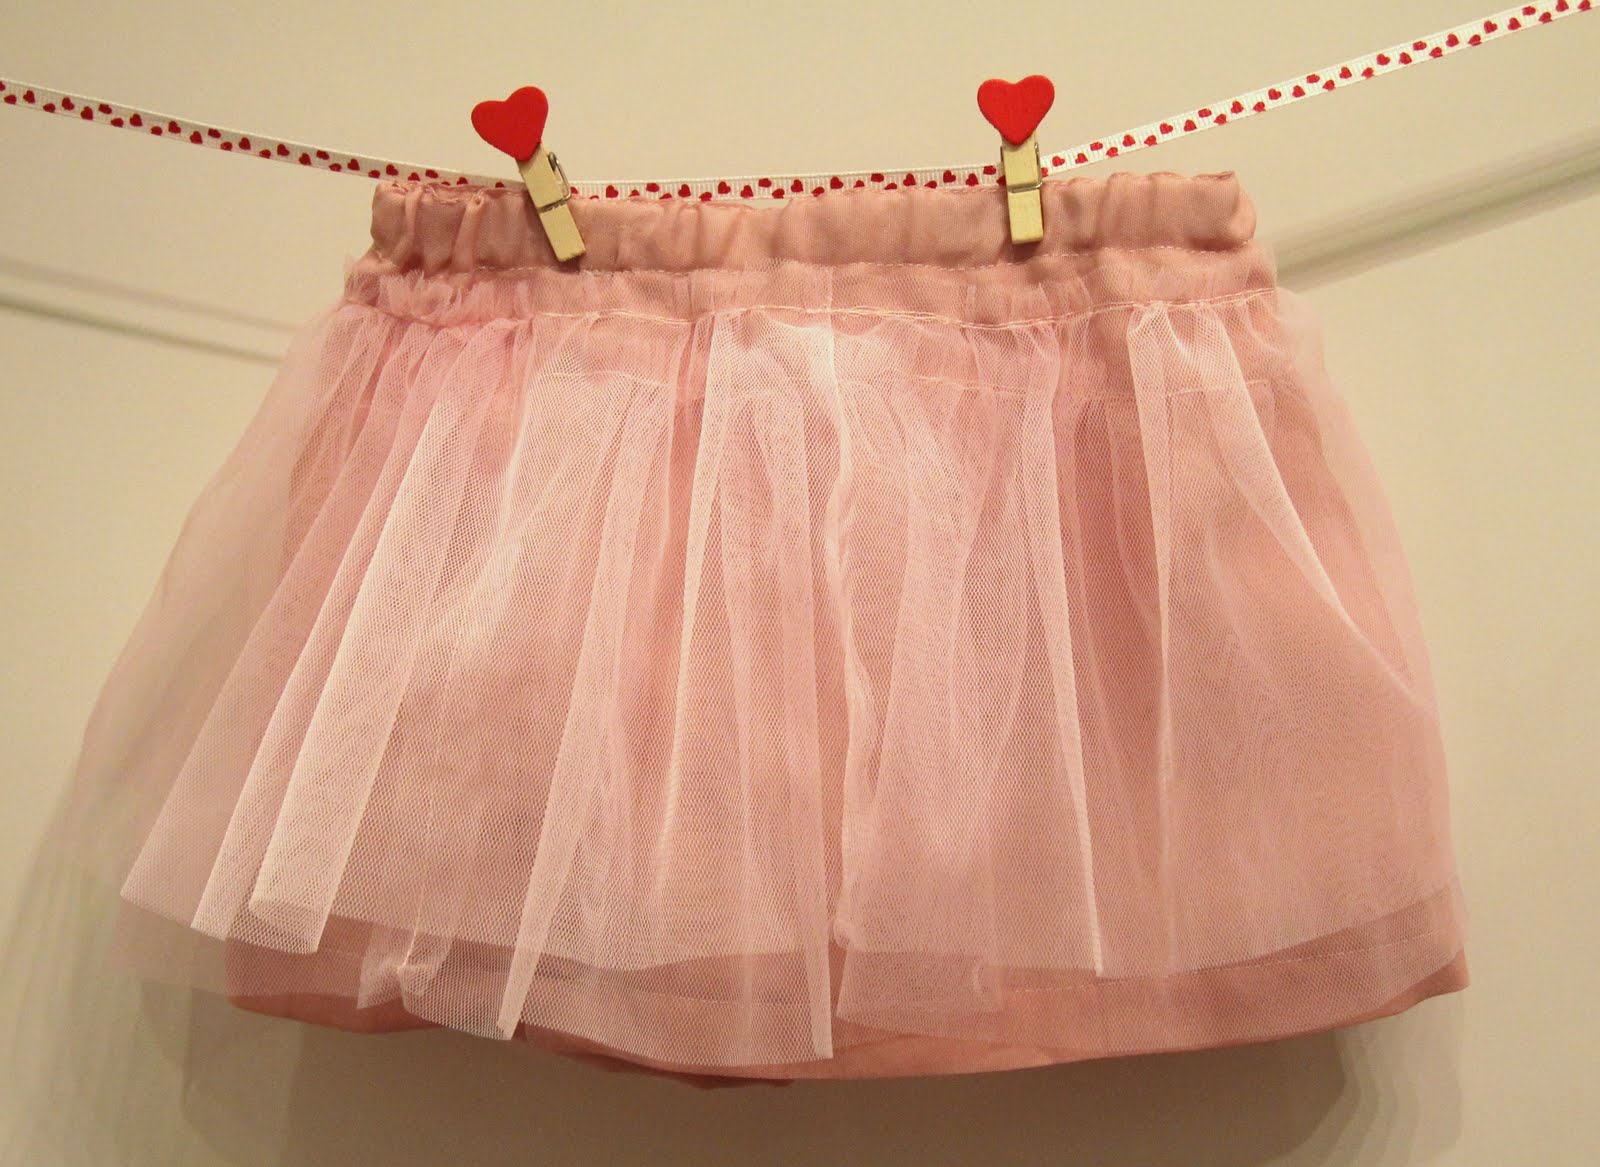
No difficult waistband here - the layers of gathered netting are simply sewn straight on top of the underskirt. Perfect for first attempts at gathering and working with tulle for the sososewer!

I opted for a 16" waist, and 9" length, as my little girl is rather petite. I used a simple polyester lining fabric rather that a knit, so I needed to overlock edges and do a proper hem.

The end result - not bad at all - the mistakes I made:  not matching up one of the side seams of the tulle with the underskirt (oops!) and the not so neat gathering thread are hard to make out under all the frou-frou netting, though I'd recommend choosing a thread that matches the tulle exactly.


Lucky Lila gets to twirl around in layers of pretty pink frills to her heart's content. Mummy is jealous...!

Saturday 25 June 2011

Little girl's pillowcase dress


After unwrapping my new machine, admittedly a little giddy like a child on Christmas morning, I played around with a few controls and stitches before diving in to a new project - my first item of clothing in donkey's years!

I used a pretty cotton print, a couple of rather fancy ribbons and some satin bias tape - never tried it before but thought I'd give it a go...


I used Emma Hardy's "Making Children's Clothes" for the pattern for her "toddler dress" - this turned out to be a wise move, as her pattern is simple to use, but also creates a nice dress with higher front neckline than back.  It's a little short for older girls, at 14-15 inches, so I would extend the length but this should be simple to do.


I combined this pattern with the brilliant tutorial at Little Big Girl Studio: Pillowcase Dress Tutorial.  This provided me with adequate lengths and kept the design a bit more simple - i.e. no lining but bias tape trim.  I used an elastic casing as I wanted to try my hand at elastic, particularly using my new elastic machine stitch!

All in all a very simple project - start to finish in one afternoon/evening (and this for a novice using a new machine!).  The results are really great.  Here's hoping my little girl likes it...


Wednesday 22 June 2011

Children's quilts


I first got out my sewing stuff (and borrowed a friend's sewing machine) when I wanted to try out making some pretty quilts for the children - big advantage, they're relatively small!

My first attempts were REALLY simple, but small successes give you the confidence to carry on so it was a great way to get back into the world of sewing.  I then made matching pillowcases for the boy and girl set, and was feeling mighty pleased with myself!

Next step:  quilting proper.  Well even this was so simple - I used the quick-turn method (so no border), and my so-so sewer cheat's trick - ready-made Japanese quilt backing.  Can you still call this a quilt?  Hmmm, not sure.  Aran's quilt first: I used fat quarters which weren't equal sizes, but I just went along with it for a more "homemade" look (if it weren't already..!).  For Lila, I used my nice new rotary cutter for equal rectangles and a fairly haphazard selection of pink/green prints for a boho girl's blanket.  Oh, and a pretty little heart applique.


The final touches for both:  I decided that they're really only ever used one-sided, so I added a few buttons to add a little something extra...

Et voila!